So...I finally get back in my studio to work. Let;s forget that the place is a complete disaster area at the moment. I needed to work on something before my head exploded.
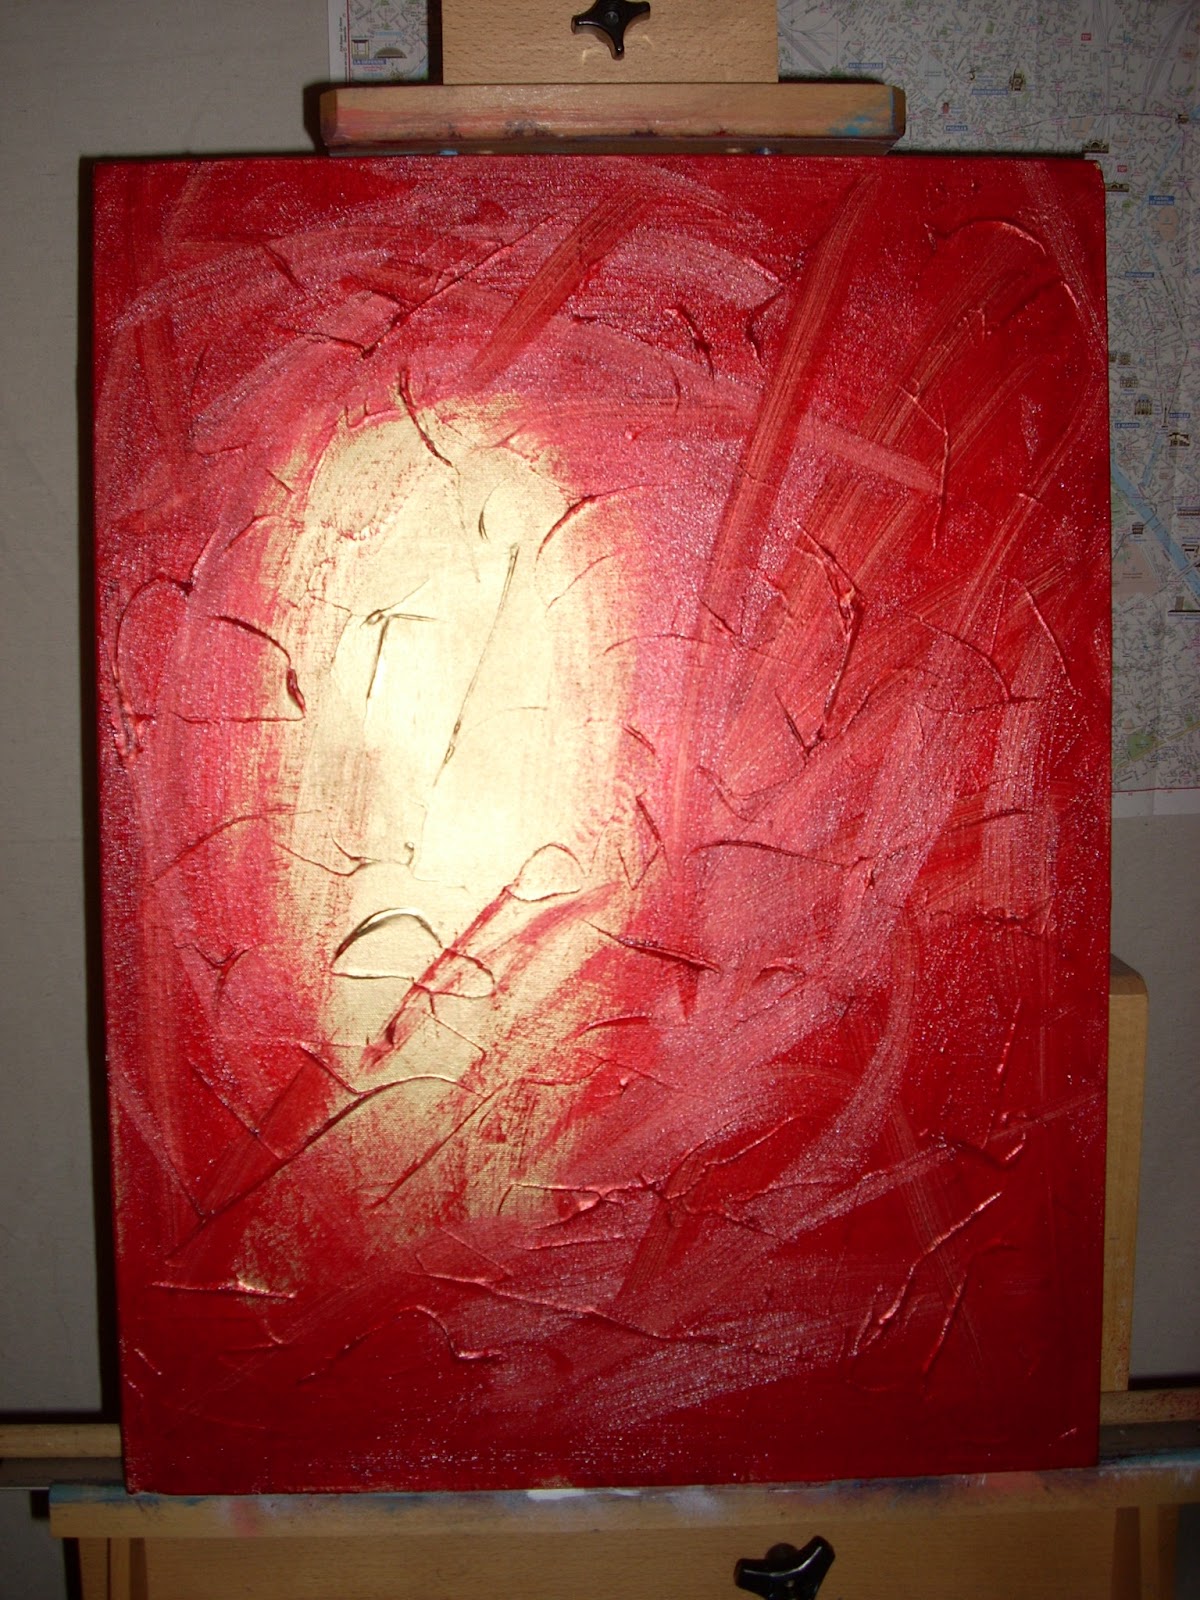
I began here. I spray painted a textured canvas with metallic gold. Then a layer of bright crimson red, leaving some of the gold to show through where I plan on putting one of my girls.
While that was drying I got the bright idea to crack a few of the older works. But which ones to sacrifice?
It is a sacrifice of sorts because I don't always know if it will work. The cracking process is not precise and anything can happen. You have to be willing to loose a painting. If the crack goes wrong, it's very difficult to save them.
I selected a Martini from 2009, my first Martini to be cracked, and a girl from 2005. The first layer is the Patina Varnish. It's difficult to see here, but it's there. Just have to let it dry a bit to the tacky stage.


Then after the Patina has started to dry, I put down a layer of the Cracking Varnish. Again, it's difficult to see here, but it's there. As it dries, it begins to crack. This is the hard part for me. I'm impatient. Temperate and humidity affect the rate and size of the cracks. It was cool and humid last night. I didn't feel like waiting like I should have. I know better. If you rush the crack you get crap.
So of coarse I rushed it. I set up a heat lamp to speed the drying process.

I was very pleased with the girl. She was on board which I think changes things a bit but I have never really taken the time to study how the surface reacts to the varnish. The Martini however, bubbled on me. Anywhoo...
After the Cracking Varnish has dried and cracked is the most frightening part for me. The toning.


It's at this point you get to see how you did. And I rushed it. The heat lamp makes the Cracking Varnish dry too fast. Making the cracks very large and bubbly. The poor cracks make for a poor surface to rub the toner color into and you end up with SHITE!

In this case I took a metal spatula and scraped a large area of varnish off the canvas. At this point it's pretty much toast. So I can play with it and see what I might be able to do with some alternate techniques. It was a fairly nice painting before I did this. It's the worst part of Crack for me. Some times they come out just right. Some times I am pleasantly surprised. And, Some times, I ruin a perfectly good painting.

One for two. It's all part of the process though. You have to take a few risks, in order to get the reward.
The reward here...I'm back in the audio...creating...dreaming...exploring...


No comments:
Post a Comment